

How to make barista style coffee when you’re in the wild
We all know a coffee snob in our lives, and if you don’t – it might be because it’s you. Going on holiday can often see you finding some new incredible spot to grab your java, but what about when you’re up to your ears in wonderful wild? What about when the nearest steam wand’s not a manner of minutes’ walk, but miles and miles drive? How will you get your fix of fine espresso? Unparalleled cold brew? Well, fear not coffee-lover, we’ve got a few ways you can still make a great coffee on a Canopy & Stars holiday.
The easy options:
The easiest coffee, without a doubt, has to be instant. It’s right there in the name. Some are definitely better than others but if you’re just aiming for a run of the mill Americano style cup of coffee, especially with kit you’re likely to find at Canopy & Stars places, you’ve got a couple of options.
French Press/cafetière
First – the French press/cafetière. Known the world around, not just in France, this is one of the easiest ways to make coffee and also happens to have some of the most caffeine, at 80-100 milligrams a cup. A couple of tips here are, clean it thoroughly (yes, the filter bit comes apart to clean), or the old coffee oils will make the coffee a little dull and muddy flavoured. The general rule for a cafetière is 7g or about a 1/2 tbsp (you don’t need to be too methodical) per cup, and around 125ml of water to each tbsp. And that’s it – milk and sugar to taste if you go in for that sort of thing, but you can’t go wrong with a French Press.
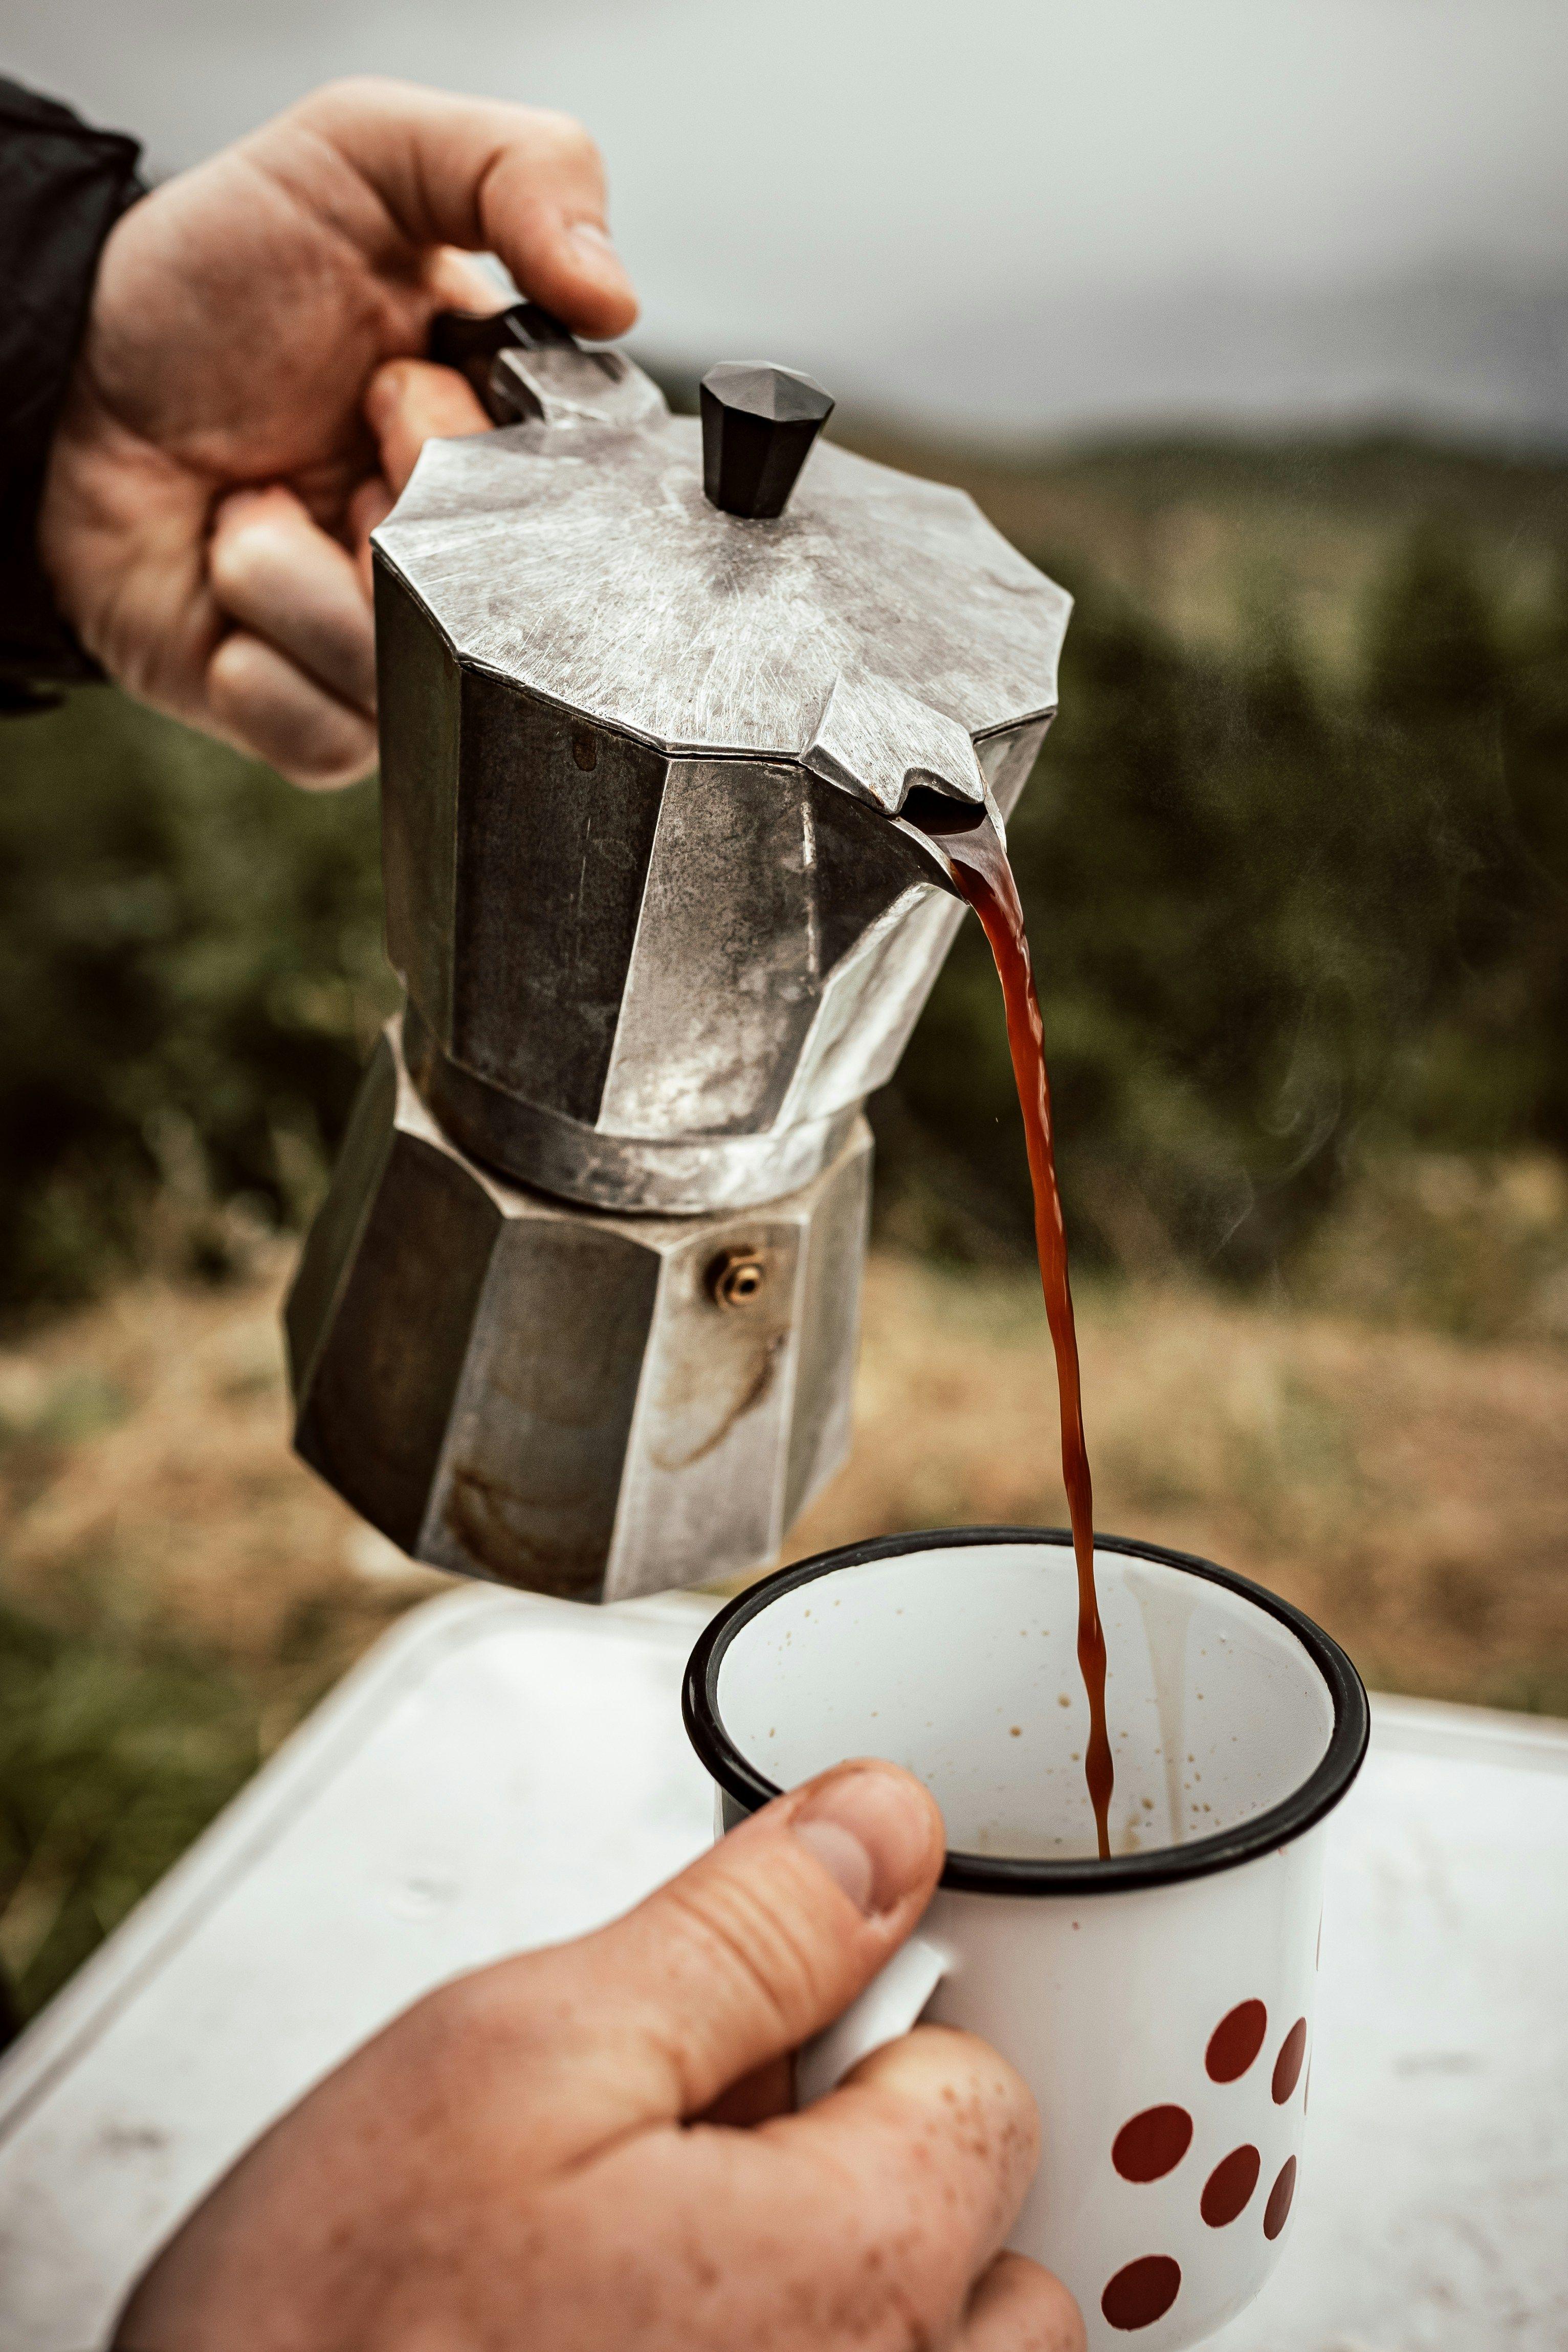
The Moka Pot
Second, the Moka pot. Welcome to Italian style. This one’s another frequent kitchen staple, although it can feel a little imposing to use, as it’s not immediately apparent how it works. Nor is it particularly apparent once you lift the lid. The good news is, it’s far simpler than it appears. Just unscrew the bottom, pull out the brewing basket, pour in boiling water to just below the safety valve, and let it cool for 30 seconds. Then fill the brewing basket with 1.5tbsp of coffee (15g) and tap gently to even out the grounds. Do it all up, making sure its secure and heat on medium low, keeping an ear out for when it starts to make a soft bubbling sound – and it’s ready. A moka pot is one of the easiest and closest options for espresso style, and it can be made on a fire!
The elevated options:
If you’re able to take any pre-existing kit to the space, you’ve got a few options when it comes to stepping up your coffee game.
Pour over
To do this perfectly probably isn’t possible out in the wild, but then it’s barely possible indoors with all the fancy accoutrements baristas suggest you need. So, let go of perfection, and just enjoy the process. For this, you’ll need one of a few things. This is basically a funnel, with a filter, and a receptacle – simple as. Several options are available and Chemex is the Ferrari of these devices, but it would be impossible to travel with, as the borosilicate glass it’s made from is strong, but can still shatter if dropped. So, grab something like a Stanley Perfect Brew Pour Over, or a Hario V60, which is a little more robust.
Add a filter paper to your chosen funnel, pop it on top of your receptacle, whether that’s a cup or a jug and add your coffee. Prime the filter with a splash of hot water, so it sticks down to the dripper, and allows an even flow. The ratio here is 1g of coffee to every 17g of water, so for a couple of cups, use about 2tbsp, and about 476g(ml) of boiling water. Add the coffee in, and shake to even it out, then pour the water, first in the centre then outwards in small circles to evenly distribute the flow, slowly over a couple of minutes – and it’s ready!
Frothy Coffee (the faux cappuccino)
For this, you’ll need any of the above choices of coffee making, plus a cafetière! First, get that coffee ready any way you like, but this time, experiment with reducing the water quantity to make something closer to espresso in strength.
Then, take your milk, and heat it to around 60 degrees – if you don’t have a thermometer, we’re talking hot, but a decent way under boiling – as if it boils it won’t work. Use the hot milk to fill a cafetière, leaving room for the milk to double in volume (be cautious and get this right or it’ll go everywhere). Then raise and lower the plunger, going slowly at first, and then building up speed. It should take about 30 seconds and leave you some frothy milk to add to your espresso style coffee – so you can have an imitation cappuccino!
The expert options
If you simply can’t do without high end espresso and cold brew whilst you’re away, but you find yourself atop fells and mountains, or deep into the wild of an AONB – this is a question of kit, and sheer will.
The Aeropress/The Cafflano Kompresso
Similar in looks, these two are technically different, but operate similarly and are equally portable. Technically, to be an espresso, you need three factors, one of them being pressure not infusion. The aeropress uses infusion, and the Cafflano pressure. If you’re out hiking and you want a coffee on the go, perhaps a treat at the top of a mountain peak, either will do. Just bring a method to heat your water, or a flask of boiling water, and a grinder or ground beans. They’re both easy to use, but practise with your Aeropress or Cafflano before you try it up a mountain!
The Wacaco Picopresso/The 9Barista
These are some pricey options, but if you’re an outdoorsperson that finds themselves out every weekend exploring, it’s the best you’ve got for proper espresso in the wild! Both use actual pressure to make the coffee, making it real espresso. The Wacaco is cheaper, making it a bit more attractive, but the 9Barista actually achieves the 9bar of pressure to make coffee, like a real barista coffee machine. If you’re unable to make a fire where you are, then you’ll want to use the Wacaco, but if you’re able to make a fire or have a gas burner with you, you can go the whole hog, and use the 9Barista.
Steam wands and Frothers
Using a cafetière as a milk frother is genius. It’s quick, it’s easy, its accessible and you’ll likely find one at a space you go to. You don’t really need much more than this. You can even pack one with you, either to the space or on a hike. But, if you’re conscious of it breaking, or need to save more room – or if you’re truly trying to emulate barista levels of perfection, you can upgrade to an electric frother. If you want to stay on the budget side of things, you can get one from Ikea for under a couple of quid. And there are comparable options from lots of different places. Or if you want the high end, there’s the Subminimal Nanofoamer – which makes nanofoam like you’d get in a latte or flat white or frothy foam like a cappuccino. Just heat the milk and you’re ready.
What do I pick?
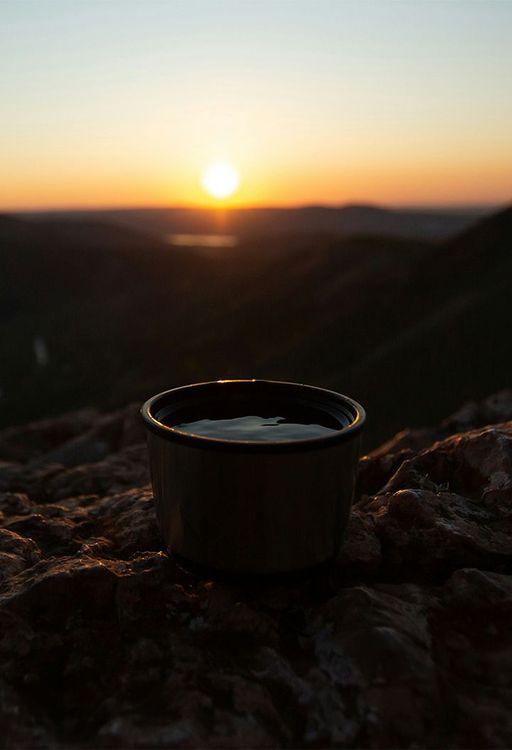
When it comes to sipping a coffee on the deck in the morning in the misty air and birdsong all around, you won’t care what it is, as long as it steams. Just work out what your needs are, portability, strength or just a decent cup of joe – and you’re good to go.
Other articles you might like
The sticky weed that makes a great spring cocktail