


Wild Recipes: Campfire Bread
Sadly, making things over the campfire is a lost art. Sure, you can toast a marshmallow, maybe you can even fry an egg in a skillet. But can you cook bread on a stick? If you spent any time in the scouts as a child – or even took your kid to forest school recently, you might’ve learned this nifty recipe. But, in true internet recipe style, first:
It was a frosty moonlit morning in October 1993, my father was a curious moustachioed man that loved the smell of an open fire, and the snug confines of a wood cabin…
Just kidding, here it is:
Ingredients
300g Flour
200ml Warm water
2tbsp Olive oil
1tsp Dried yeast
1tsp Sugar
1tsp Salt
Makes: 8 servings
Timings
Prep: 10m
Cooking time: 10m
Resting time: 1hr
TOTAL: 1hr 20m
Equipment
X1 large bowl
X1 dough knife/knife
X8 whittled sticks (non-poisonous)
X1 sense of adventure
Step 1 – Make the dough
This is a yeast-based dough, so it will take a little prep to achieve. If you’re a whiz at timings, get the dough ready first, and then you can go out and seek the wood for your campfire, and a few sticks to roast it on (more advice on the matter to come).
There’s no real magic to this process, simply add all the ingredients in your large bowl, mix until thoroughly combined. Now, whilst your dough’s settling – get ready to find some sticks.
Step 2 – Stick with it
There are not many recipes where you need to go make part of your cooking equipment, but here we are. Head outside and find some sticks for your roasting. Ideally, you want a good length, long enough that you can prop them up with rocks rather than having to hold them, or indeed long enough that if you do hold them, you aren’t roasted along with the bread.
Some top tips here are, pick a non-poisonous wood – pretty vital. Pick a tree you recognise, ask advice, or use an app to identify the tree. Ideally, you want green wood, as it’s less likely to burn under the heat. Strip off the bark with a sharp knife (whittling skills required) and sterilise the end a little on the fire.
Step 3 – The magic
With basically everything ready, your dough, the sticks, and hopefully some smouldering embers, you’re ready to get going. Take to a flat, clean surface, flour it, flour your hands, and knock the air out of it (handle it a bit, squish it, punch it a little). Gather it into a ball, and cut it into portions – in this case about eight.
Stretch the dough out into sausage shapes, twist them around the sticks like so, and then pinch the dough at the ends of the strip so it doesn’t make an escape mid-roast.
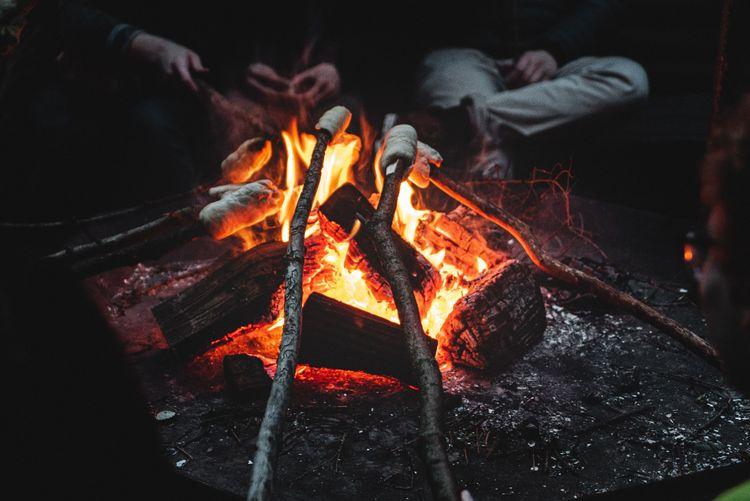
Embers are actually preferential to a roaring fire, as tempting as it is, as actual flames might burn the dough. Embers, however, provide the heat without the burn risk. Prop them up, or hold them, making sure to turn so they cook evenly.
Step 4 – The possibilities are endless
Once browned on all sides, it’s ready to enjoy. You can have it as is – or you can slide the bread off, and stuff it with your choice of filling. Sweet is never a bad shout, with options for various jams, raspberry, strawberry, you could even go exotic with lingonberry. Also, there is almost always cause for putting chocolate spread inside. But, if savoury is your preference, you could stuff with a choice of cheese (Manchego toasts to a very nice flavour) or even dust in your choice of seasonings. The possibilities, are indeed, endless.